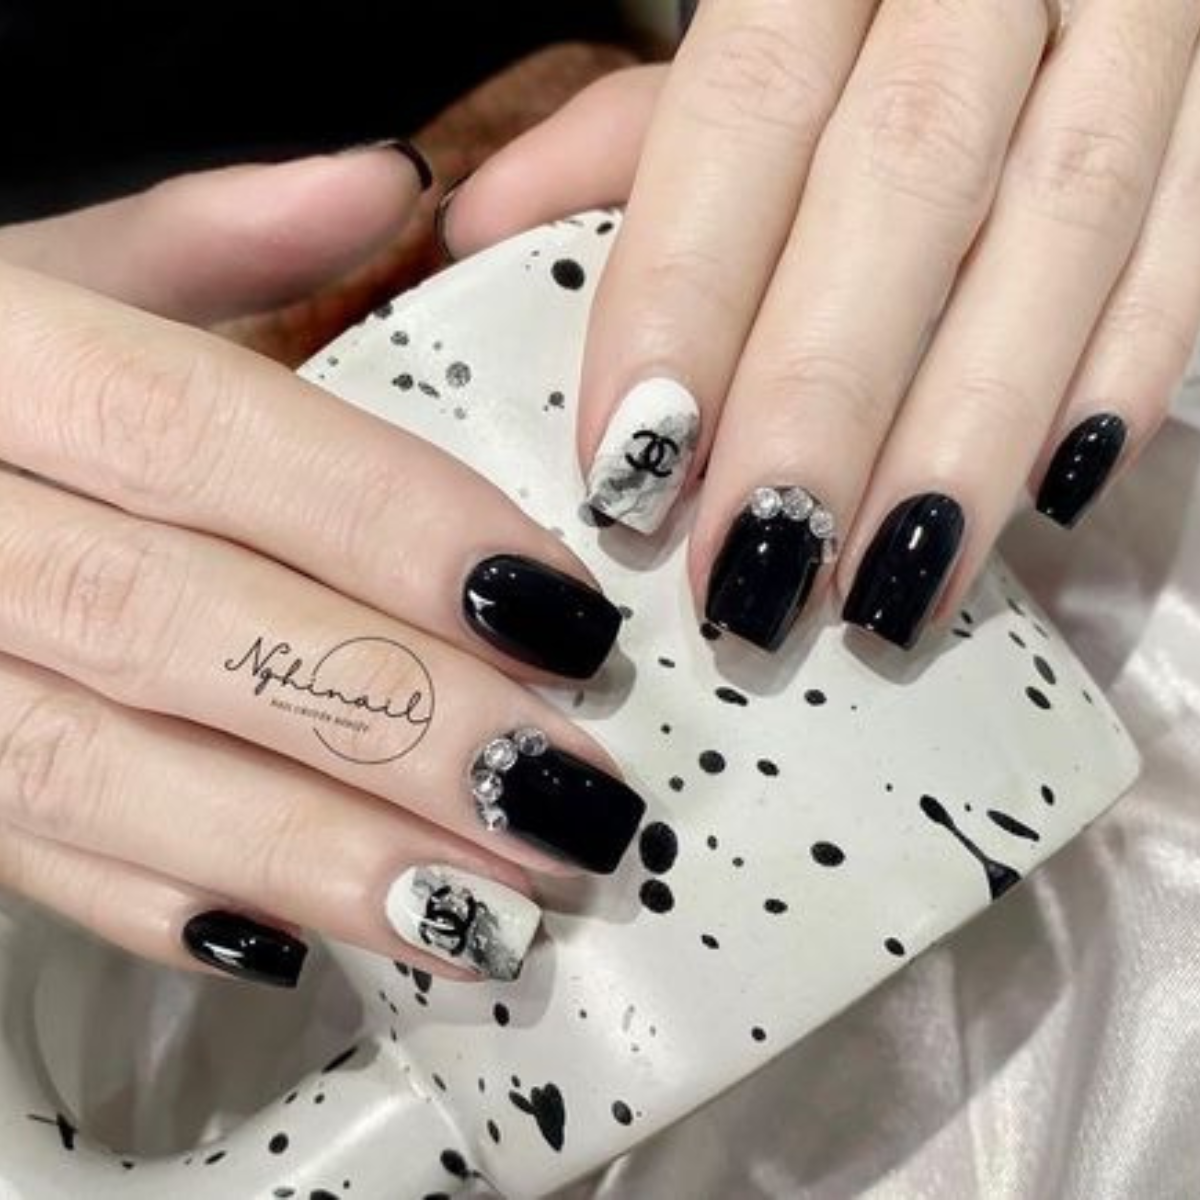
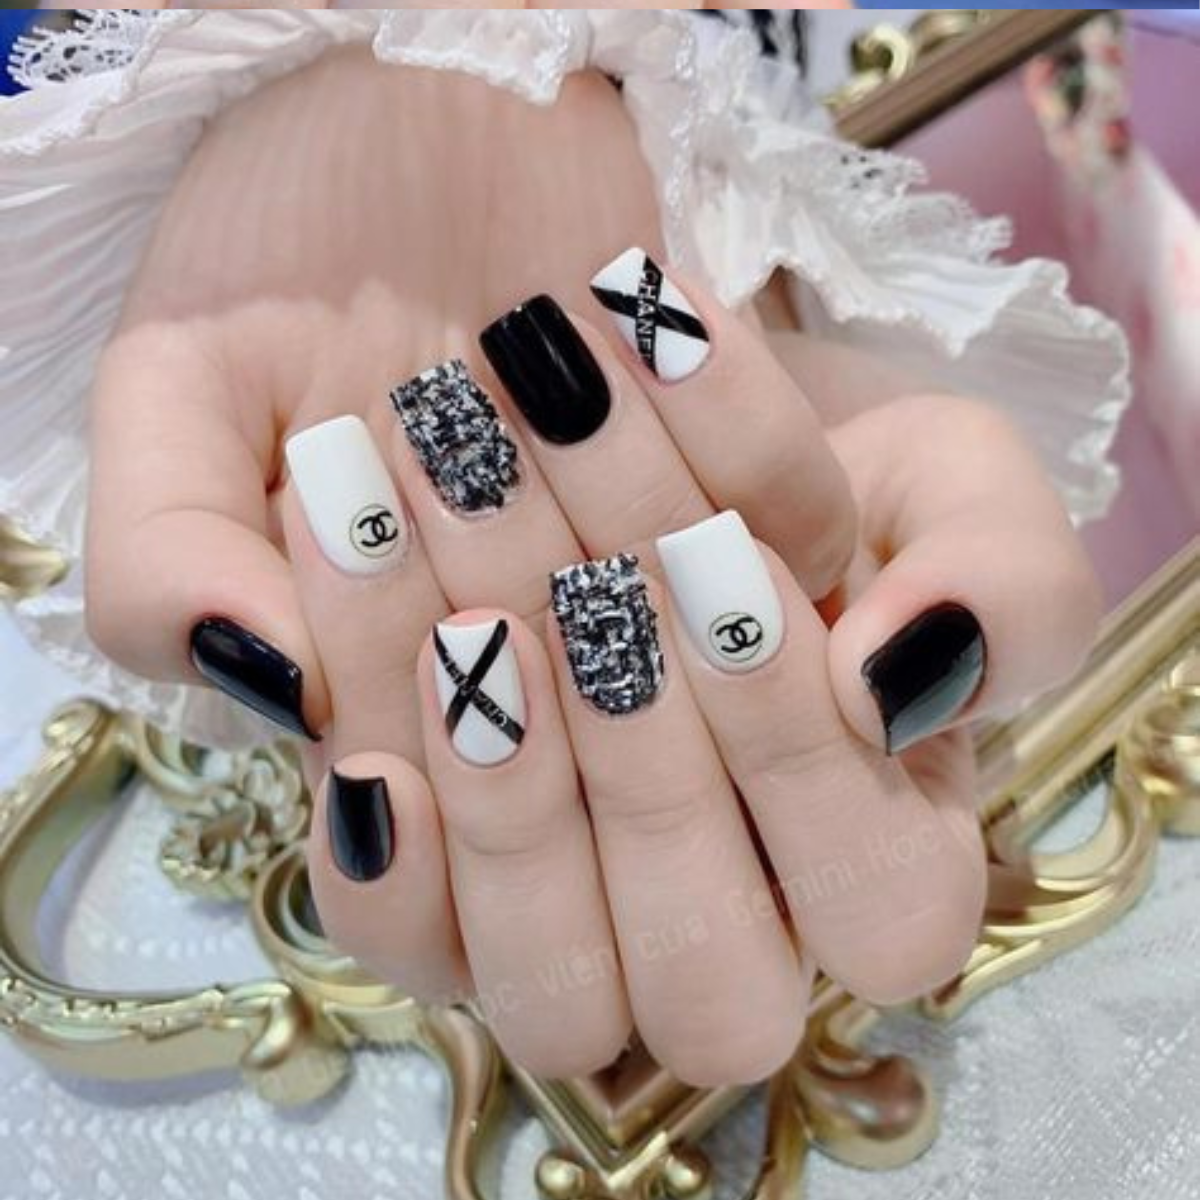
Chic Black and White Nail Designs: A Guide to Timeless Elegance
Black and white nail designs are the epitome of chic elegance, offering a versatile look that suits any occasion. Whether you prefer bold contrasts or subtle patterns, these monochrome nails can elevate your style effortlessly. Here are some inspiring black and white nail designs and tips on how to create them.
1. Classic French Tips
How to Create:
- Base Coat: Start with a clear base coat.
- White Tips: Paint the tips of your nails white. Use nail guides for a clean line.
- Black Accents: Add a thin black line right below the white tip for a modern twist.
- Top Coat: Finish with a clear top coat for a glossy shine.
2. Geometric Patterns
How to Create:
- Base Coat: Apply a clear or white base coat.
- Tape Off Sections: Use nail tape to create geometric shapes.
- Fill in Shapes: Paint the exposed sections with black polish. Allow it to dry.
- Remove Tape: Carefully remove the tape to reveal crisp lines.
- Top Coat: Seal with a top coat.
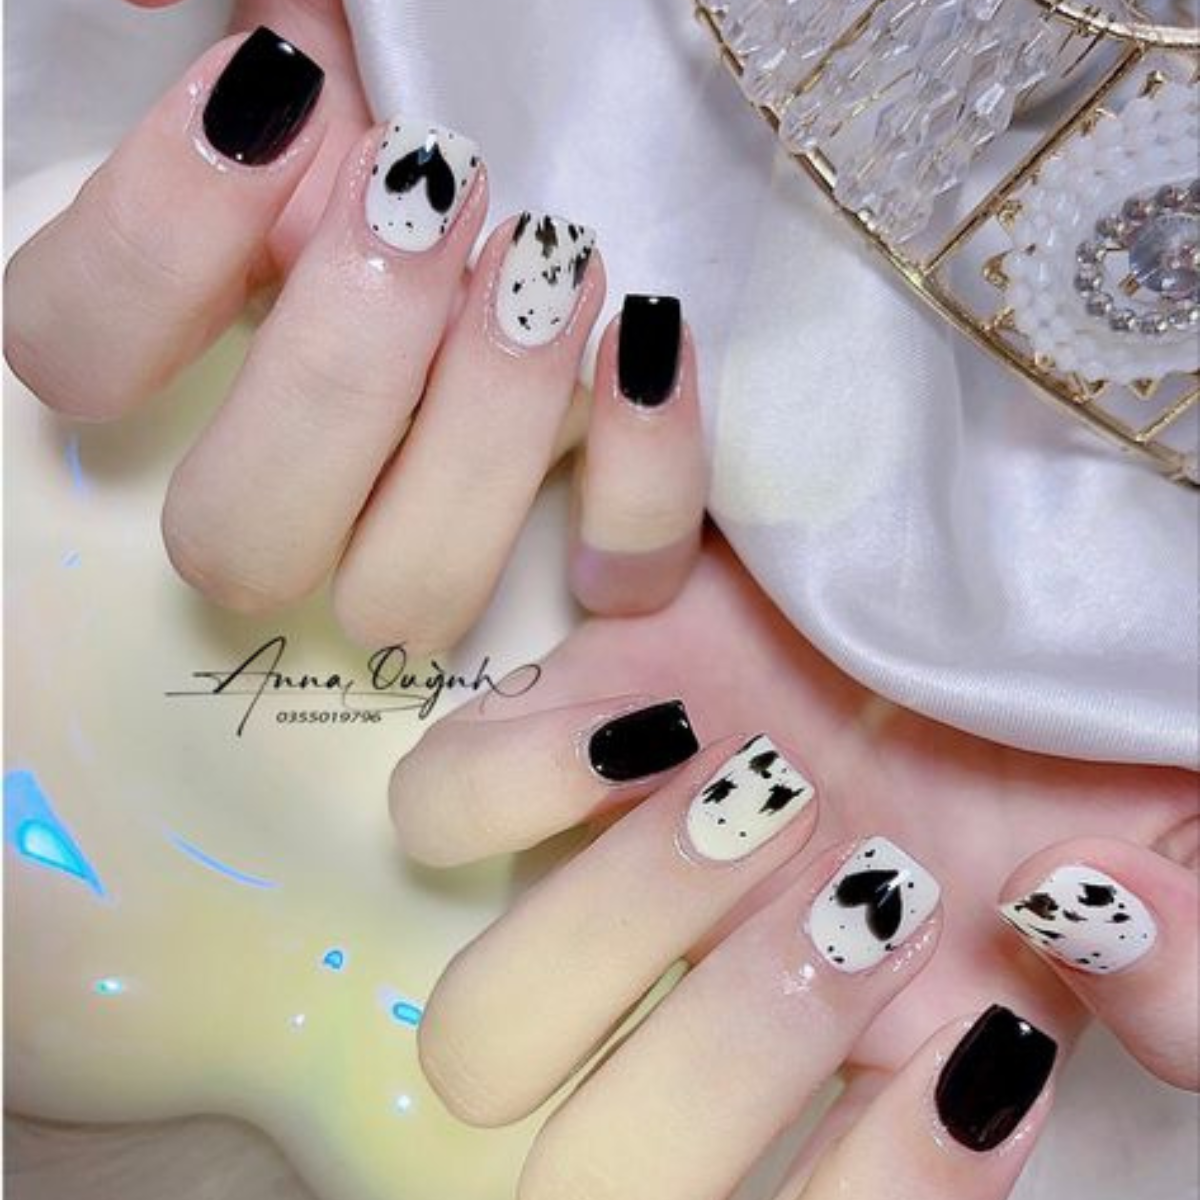
3. Polka Dots
How to Create:
- Base Coat: Start with a white or black base coat.
- Dotting Tool: Use a dotting tool or a bobby pin to create dots in the opposite color (black on white or white on black).
- Pattern: Arrange the dots in a symmetrical pattern or randomly for a playful look.
- Top Coat: Apply a top coat to protect the design.
4. Checkerboard
How to Create:
- Base Coat: Apply a white base coat.
- Grid Lines: Use thin nail tape to create a grid pattern on your nails.
- Fill Squares: Paint alternating squares black. Remove the tape carefully.
- Top Coat: Finish with a top coat for a polished look.

5. Marble Effect
How to Create:
- Base Coat: Start with a white base coat.
- Black Polish: Drop a few dots of black polish onto your nail.
- Swirl Effect: Use a thin brush or a toothpick to swirl the black polish into the white for a marble effect.
- Top Coat: Apply a top coat to smooth and protect the design.
6. Stripes and Chevron
How to Create:
- Base Coat: Apply a black or white base coat.
- Striping Tape: Use striping tape to create vertical, horizontal, or chevron stripes.
- Alternate Color: Paint over the tape with the opposite color (white on black or black on white).
- Remove Tape: Carefully peel off the tape to reveal sharp lines.
- Top Coat: Seal with a top coat.
7. Negative Space
How to Create:
- Base Coat: Apply a clear base coat.
- Black and White: Paint sections of your nails with black and white polish, leaving some parts of your natural nail exposed.
- Clean Lines: Use tape to create clean edges between the colors.
- Top Coat: Finish with a top coat to add shine and protect the design.
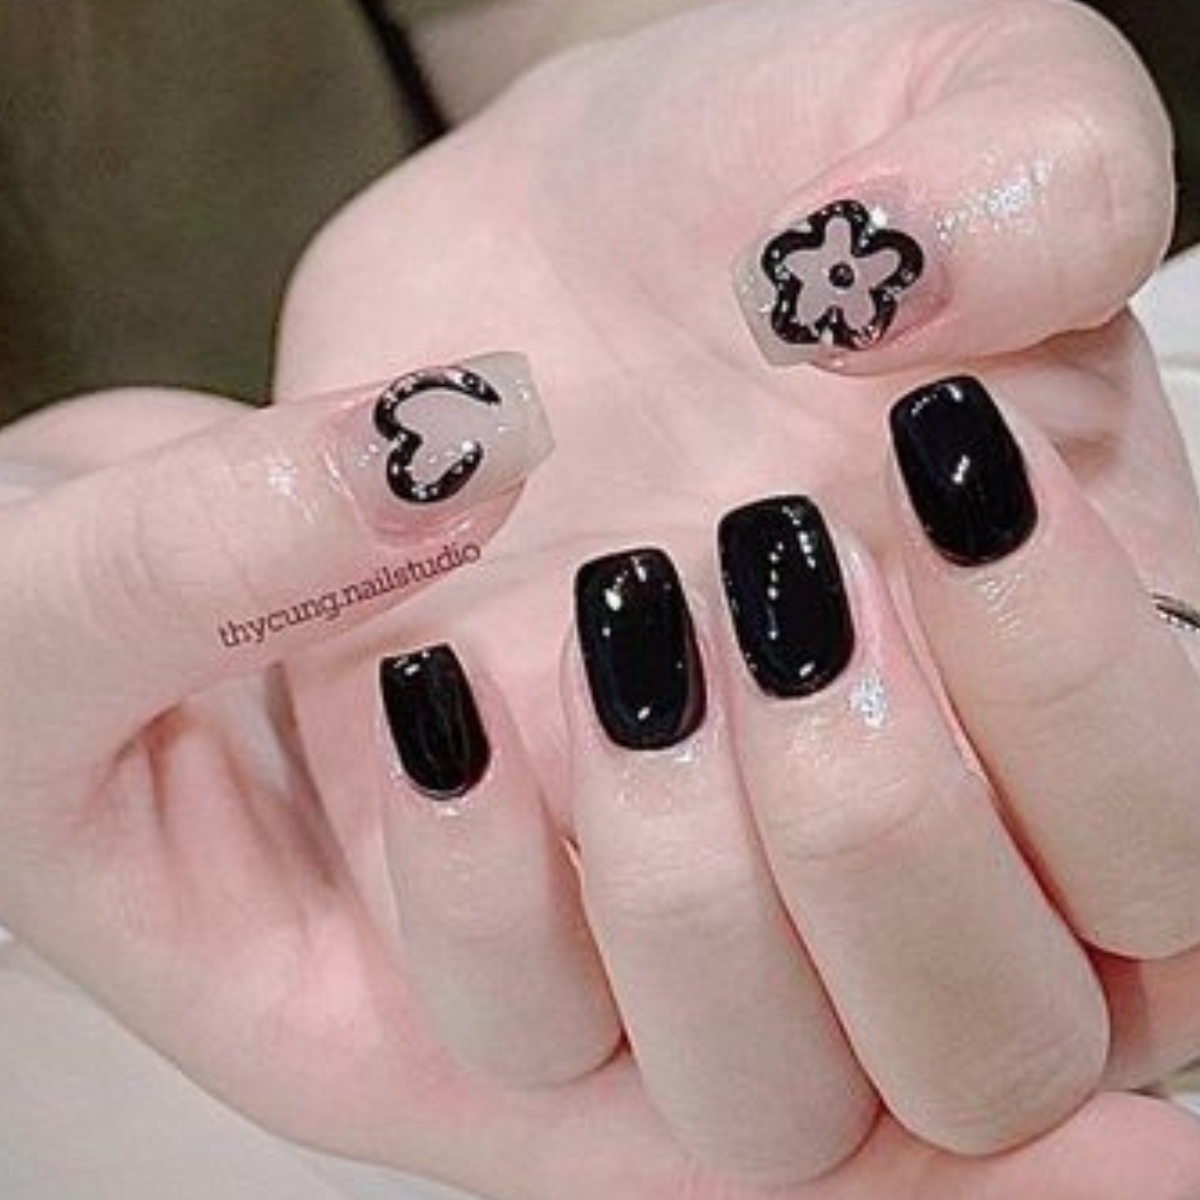
8. Floral Patterns
How to Create:
- Base Coat: Start with a white or black base coat.
- Flowers: Use a thin brush to paint delicate flowers in the opposite color.
- Details: Add small dots or lines to enhance the floral design.
- Top Coat: Apply a top coat for a glossy finish.
Tips for Perfect Black and White Nails
- Steady Hand: Use your dominant hand for painting details. Practice makes perfect!
- Quality Tools: Invest in fine nail brushes, dotting tools, and striping tape for precise designs.
- Patience: Allow each layer of polish to dry completely before adding another to avoid smudging.
- Top Coat: Always use a top coat to protect your design and extend the life of your manicure.
Black and white nail designs are timeless, offering a sleek and sophisticated look that’s always in style. Whether you prefer minimalist patterns or intricate designs, these ideas will help you create chic and elegant nails that make a statement. So, grab your nail polish and start experimenting with these classy black and white designs!